Menu
2026 June Entries
Topic: Selective Focus
Judge: Paul Speaker from Oregon
(Double Click on any image below to start slide show)
ALL ENTRIES
-
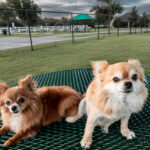
- 0.0 Magic-Happy-Place BY: Steve Simpson

-
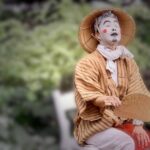
- 5.0 Japanese-Festival-Ft-Worth BY: Christine Sutton

-
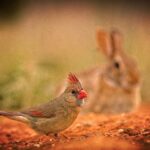
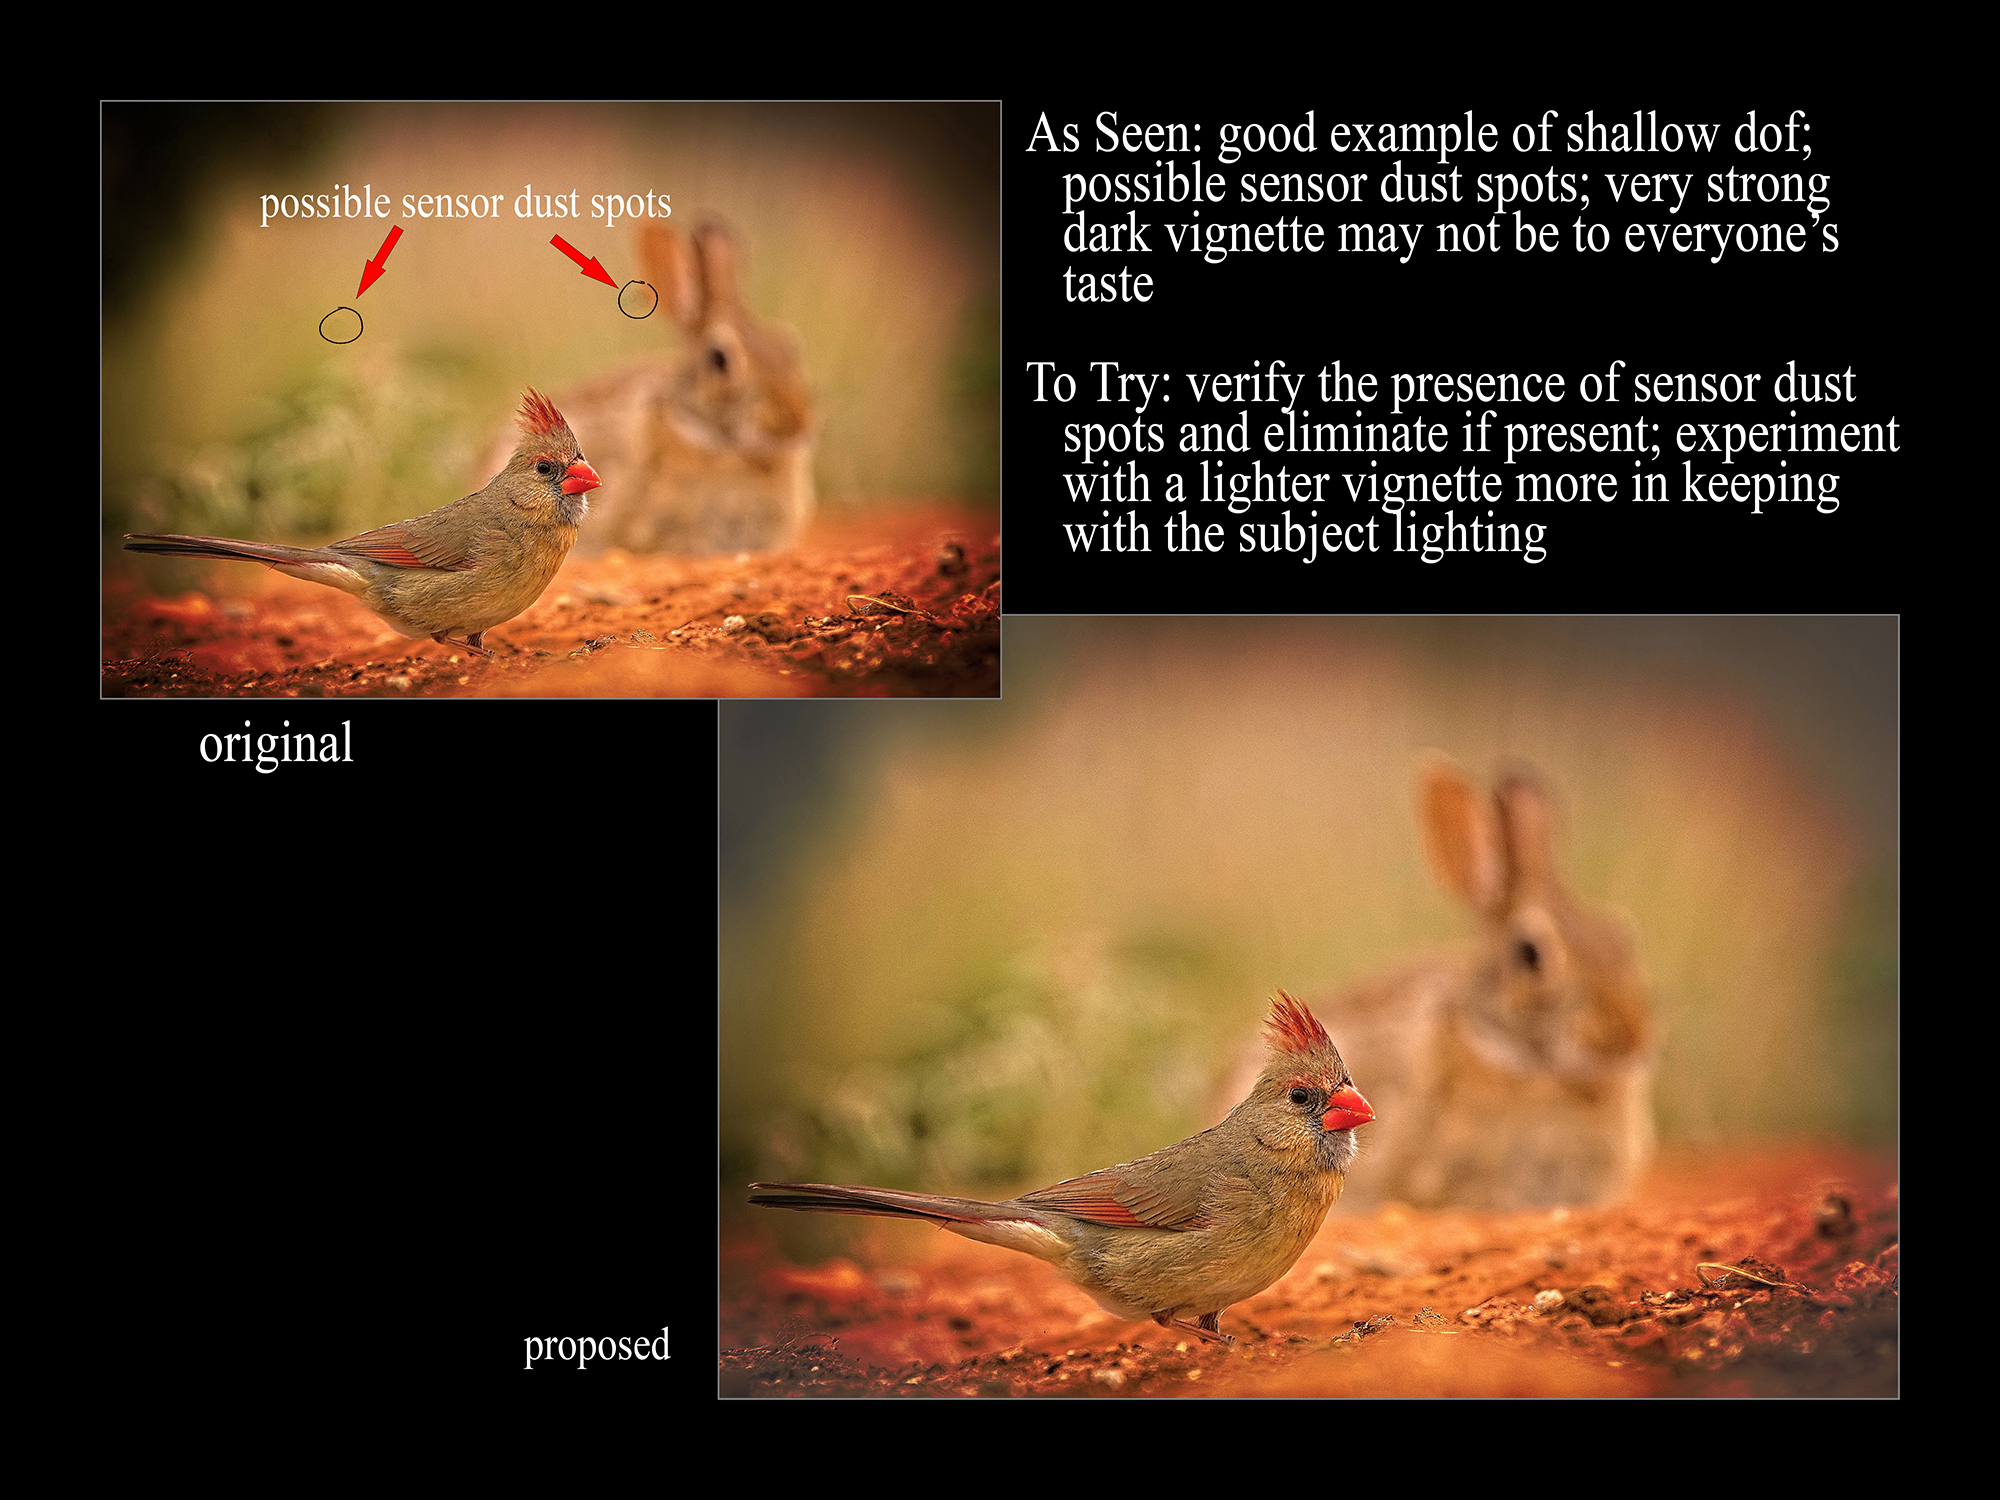
- 7.0 Photobombed-cardinal BY: Dick Remski

-
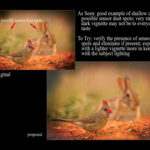
- 7.0 Photobombed-cardinal By: Dick Remski
-

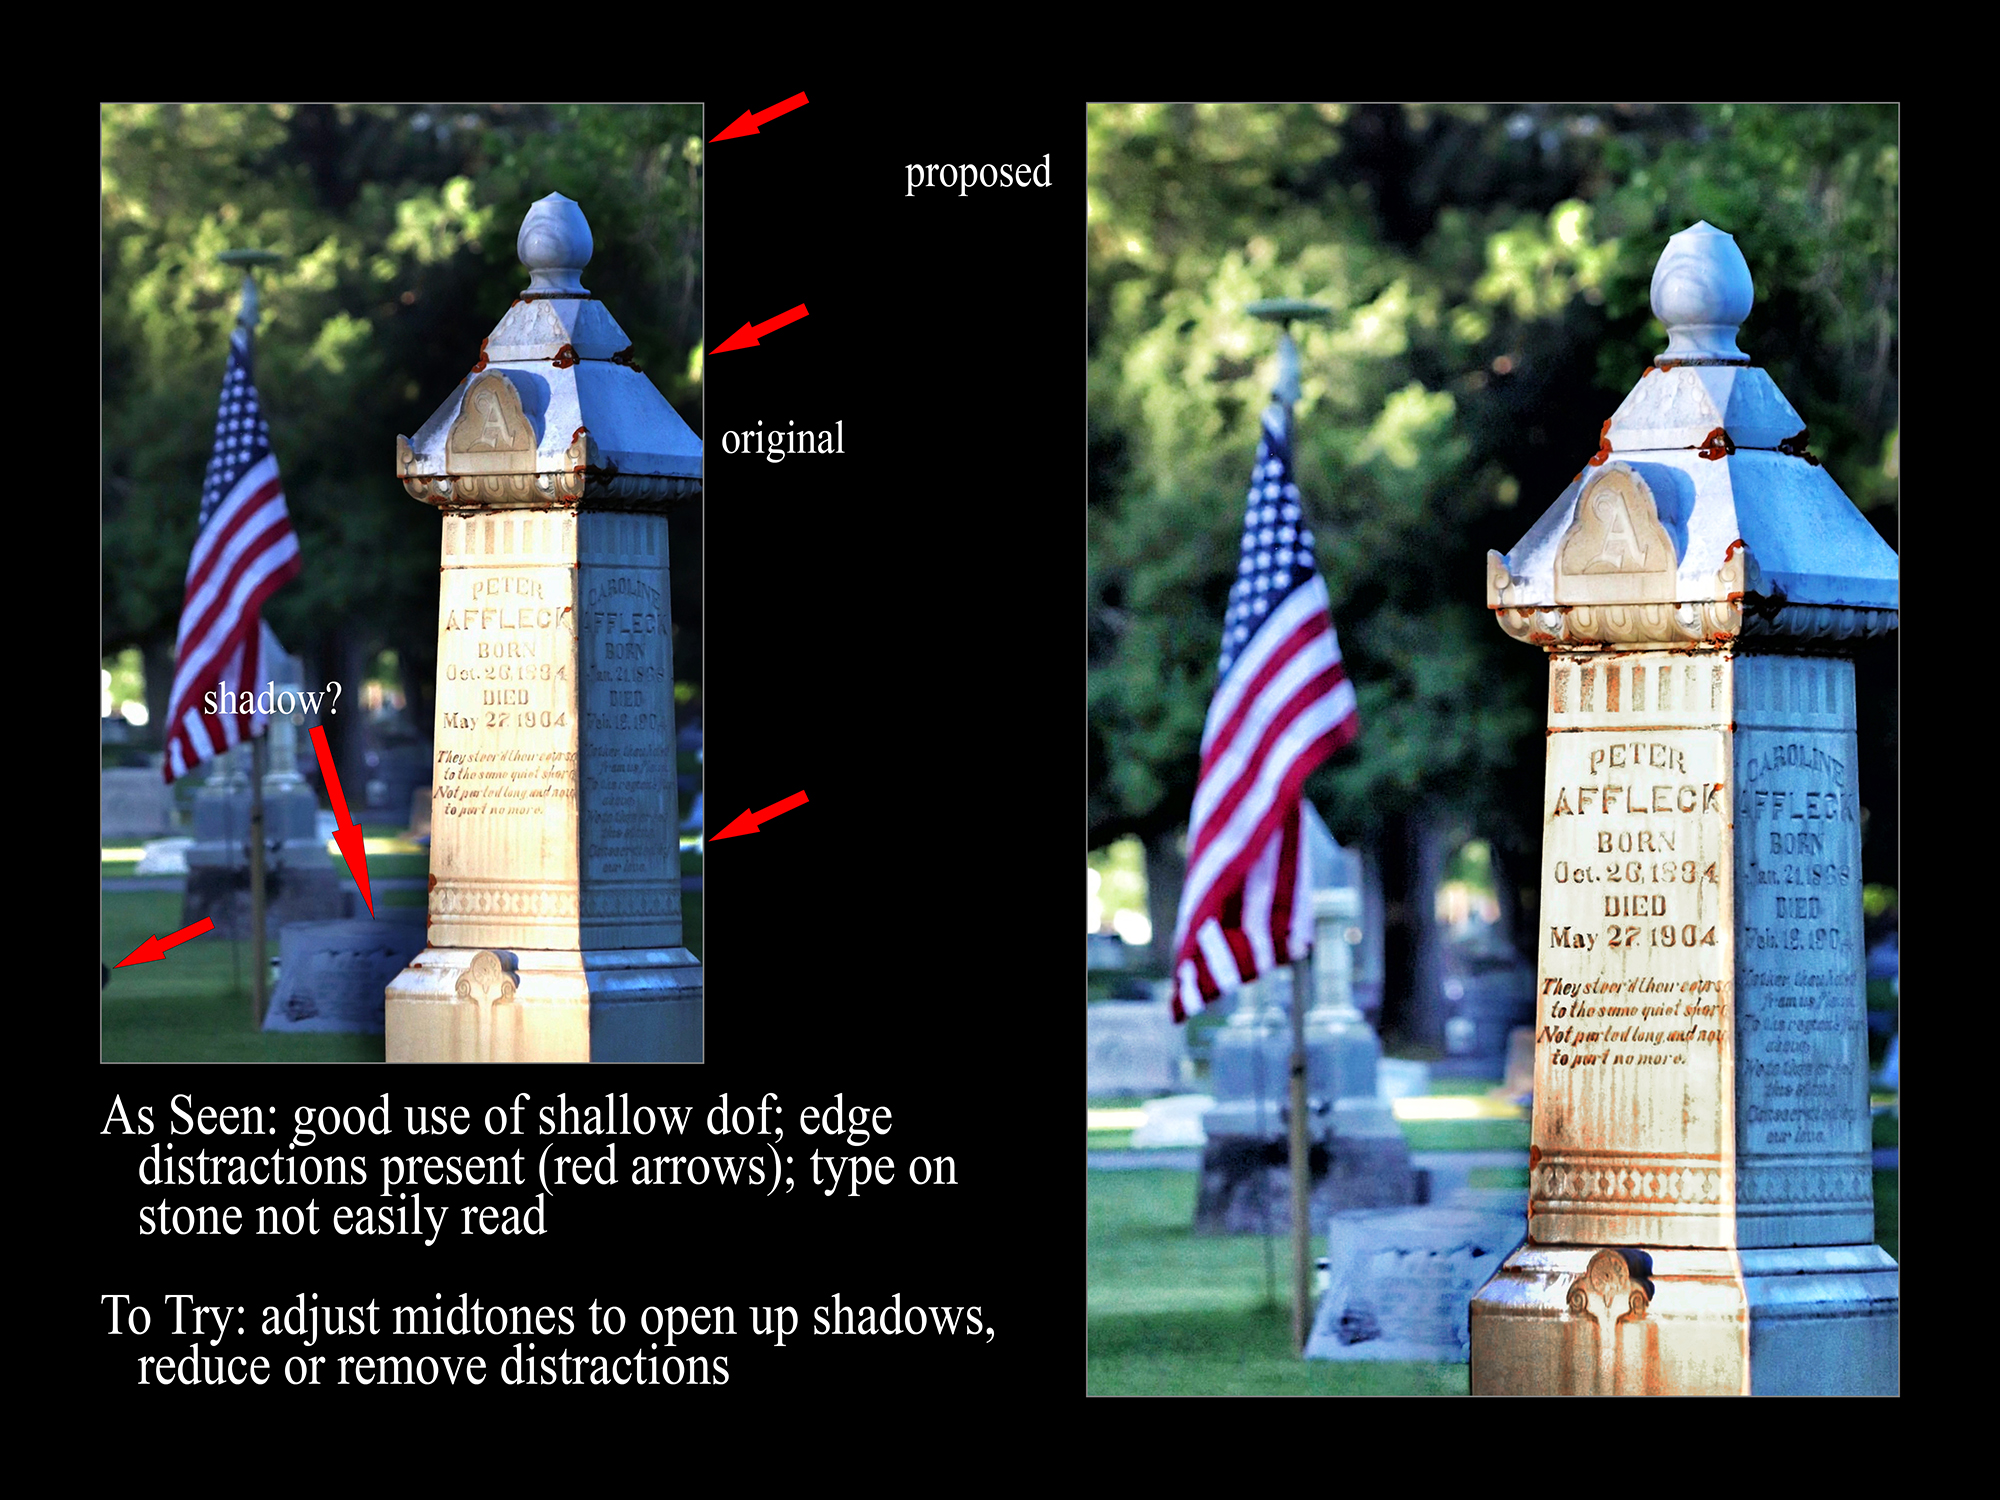
- 7.0 A-Patriots-Spirit-Lives-On BY: Betty Alvarado

-
- 7.0 Patriots-Spirit-Lives-On BY: Betty Alvarado
-
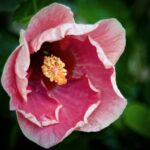
- 8.0 Pretty-in-Pink BY: Barbara Finney

-

- 8.0 Calaveras BY: Frank Barnhart

-
- 7.0 Derailed BY: Michael Patterson

-
- 7.0 Derailed BY: Michael Patterson
-

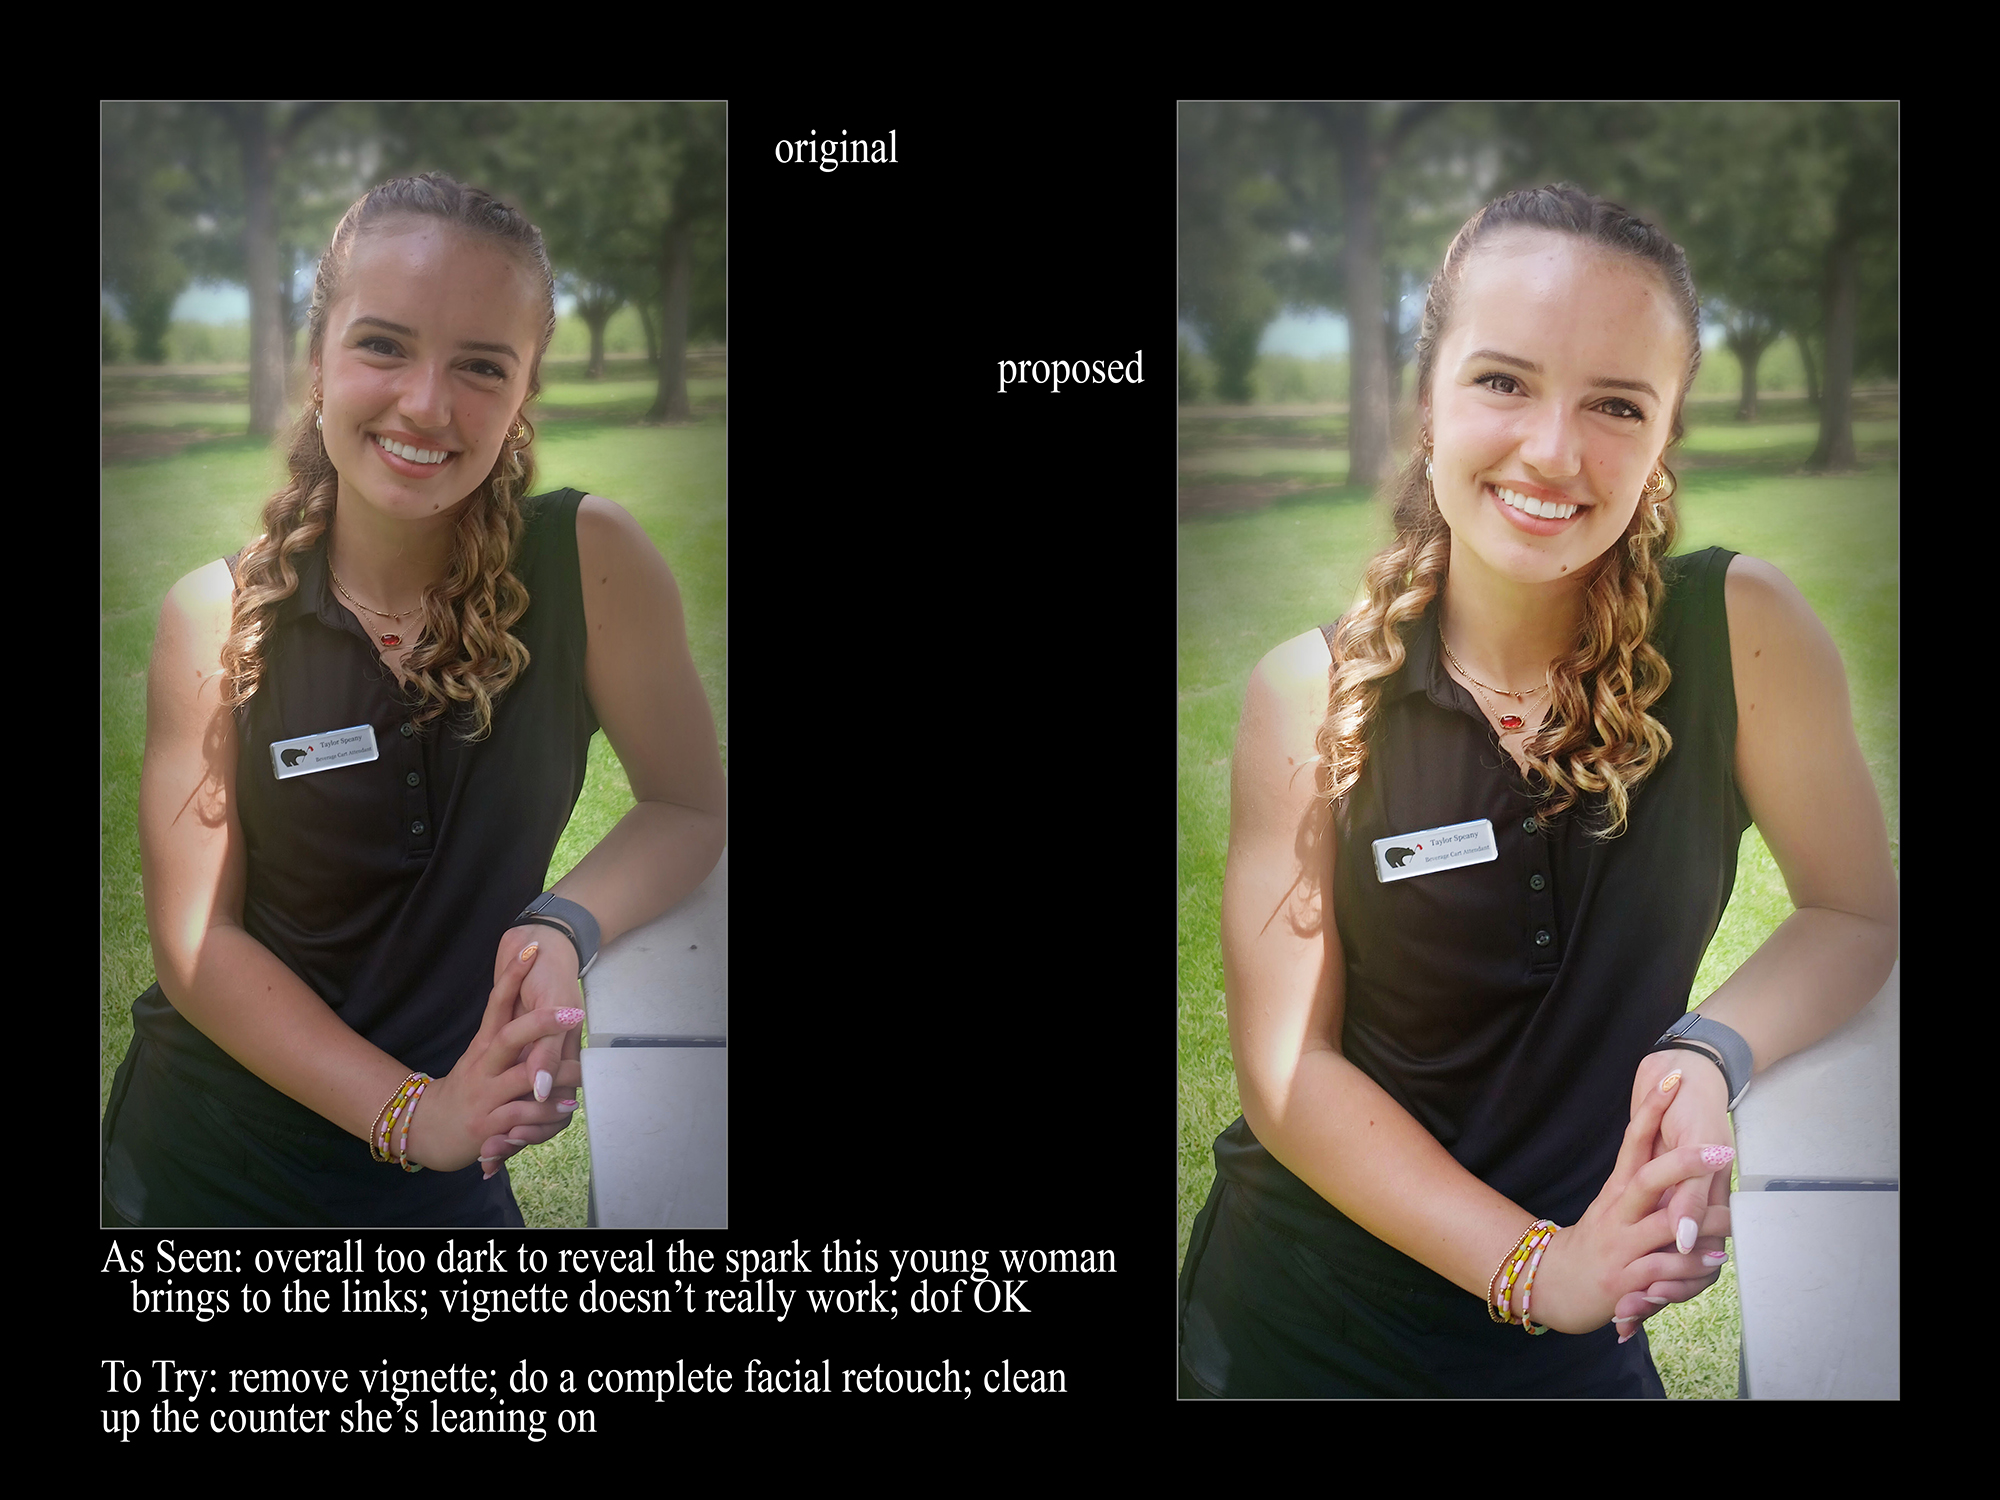
- 7.0 cart-girl BY: Jerry Schlesinger

-
- 7.0 cart girl BY: Jerry Schlesinger
-

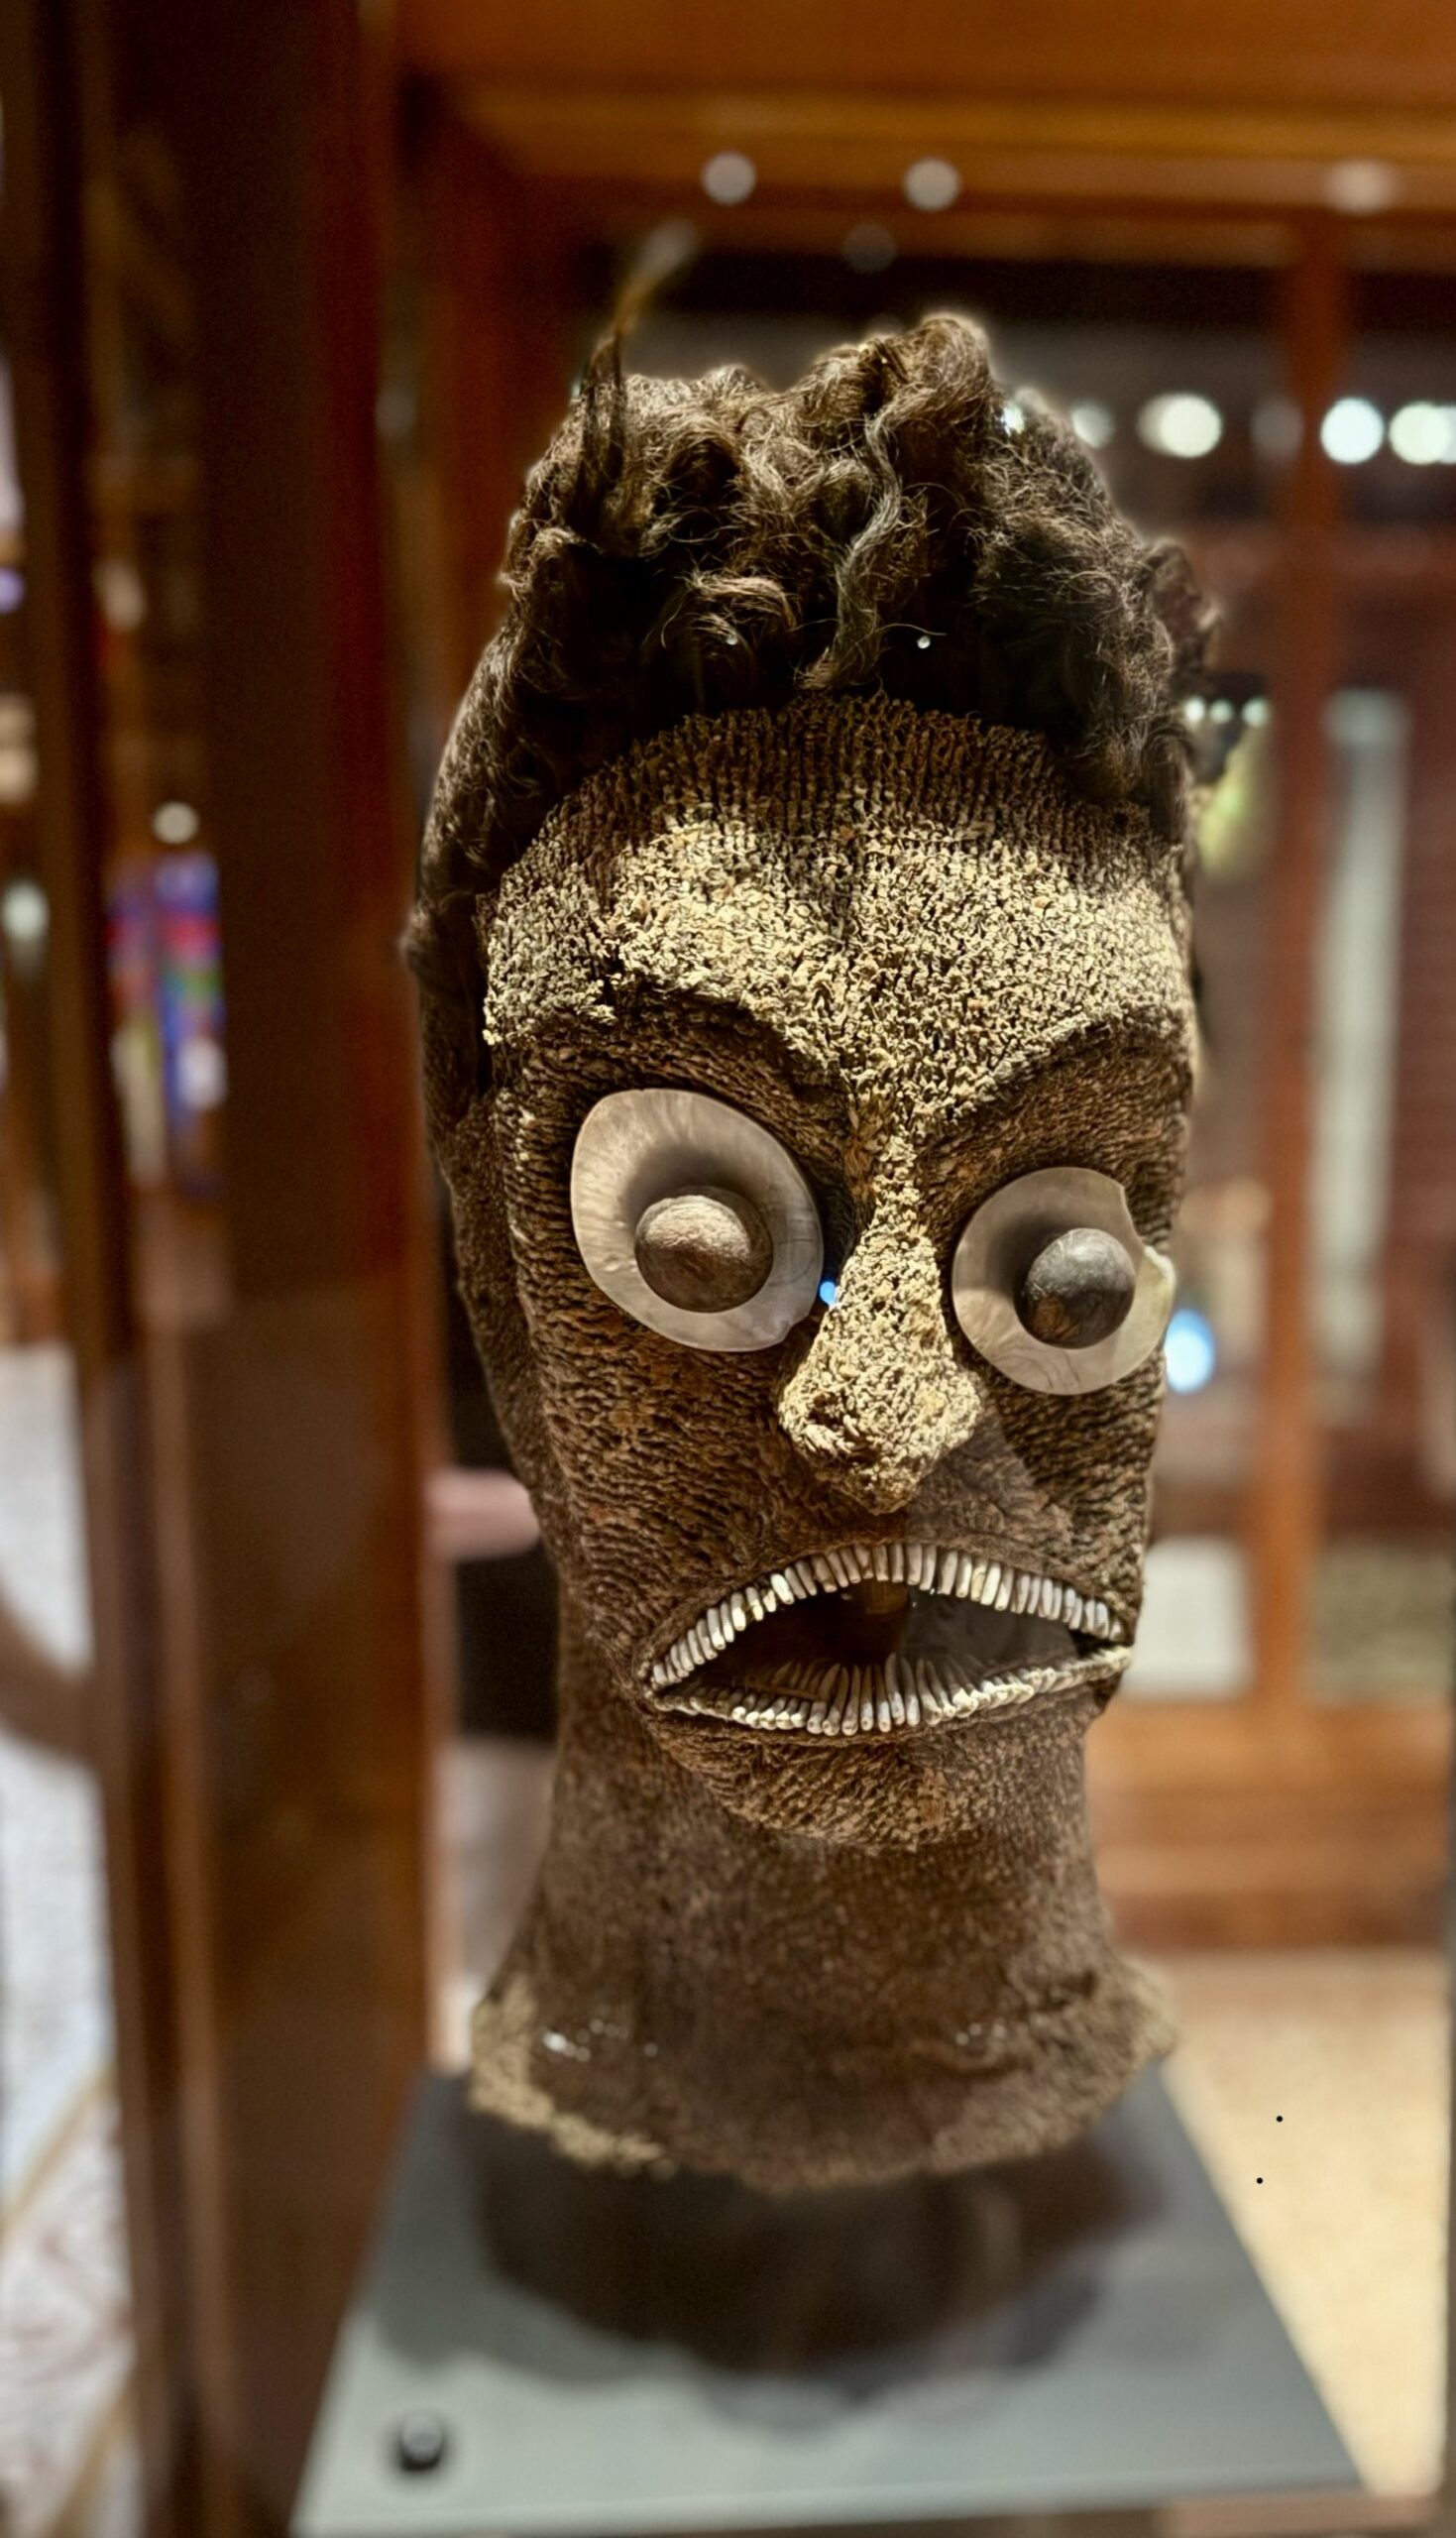
- 7.0 God-of-War-Hawaii BY: Kimo Sutton
-
- 9.0 What-windshield BY: Nick Alvarado

-
- 9.0 Bumble-Bee-Flower BY: Randy Taylor

-
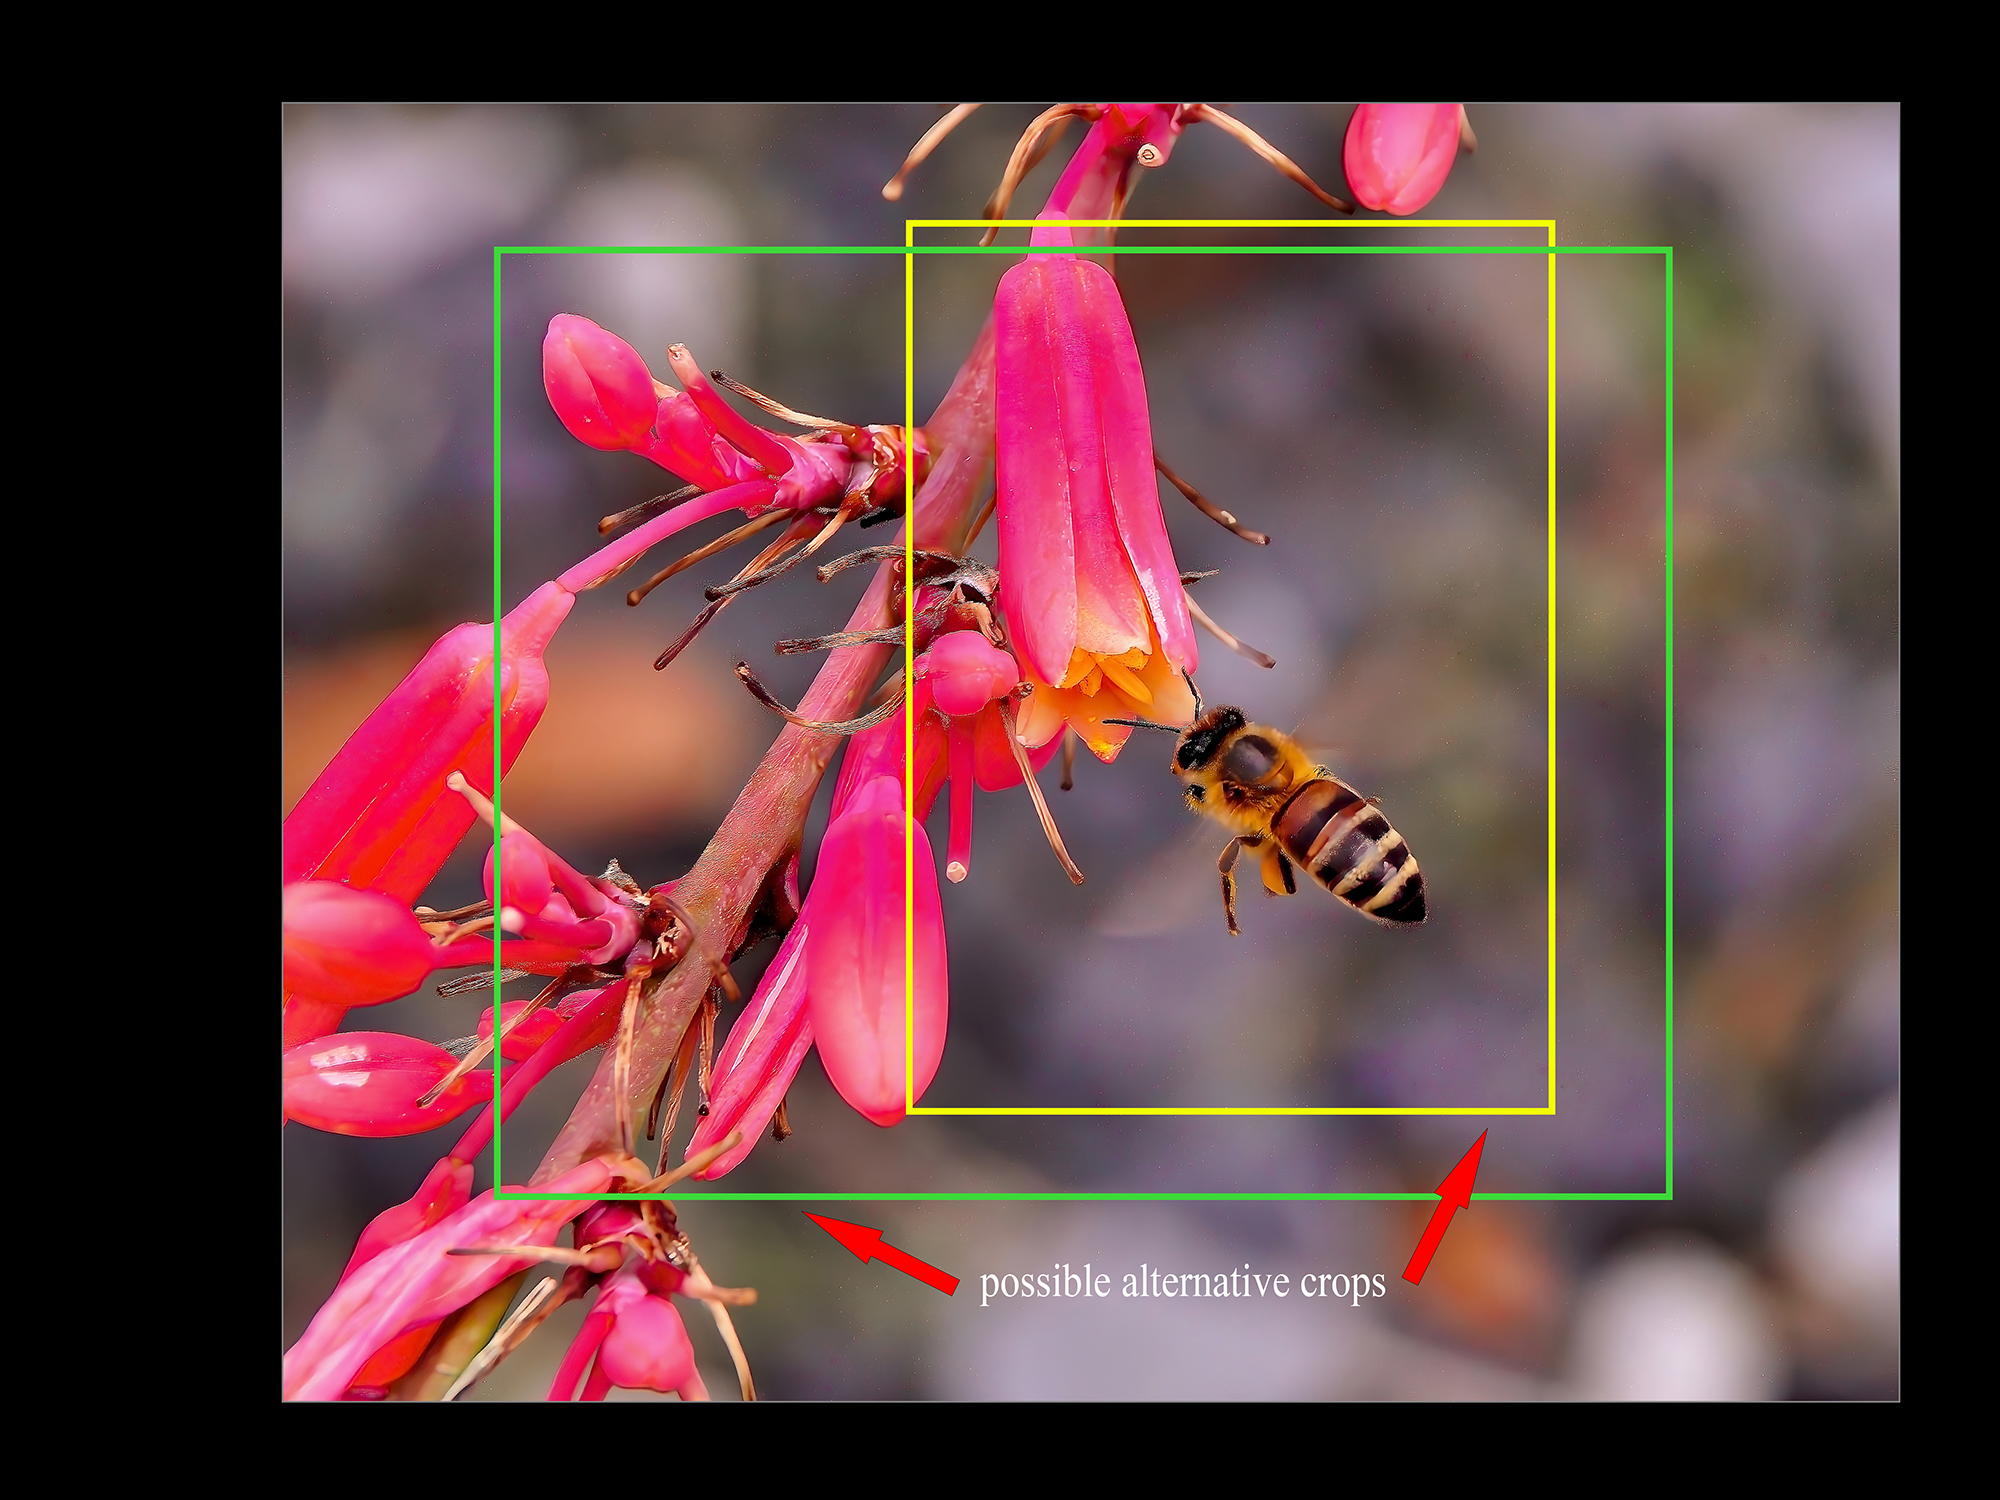
- 9.0 Bee-and-Flowers BY: Randy Taylor
-
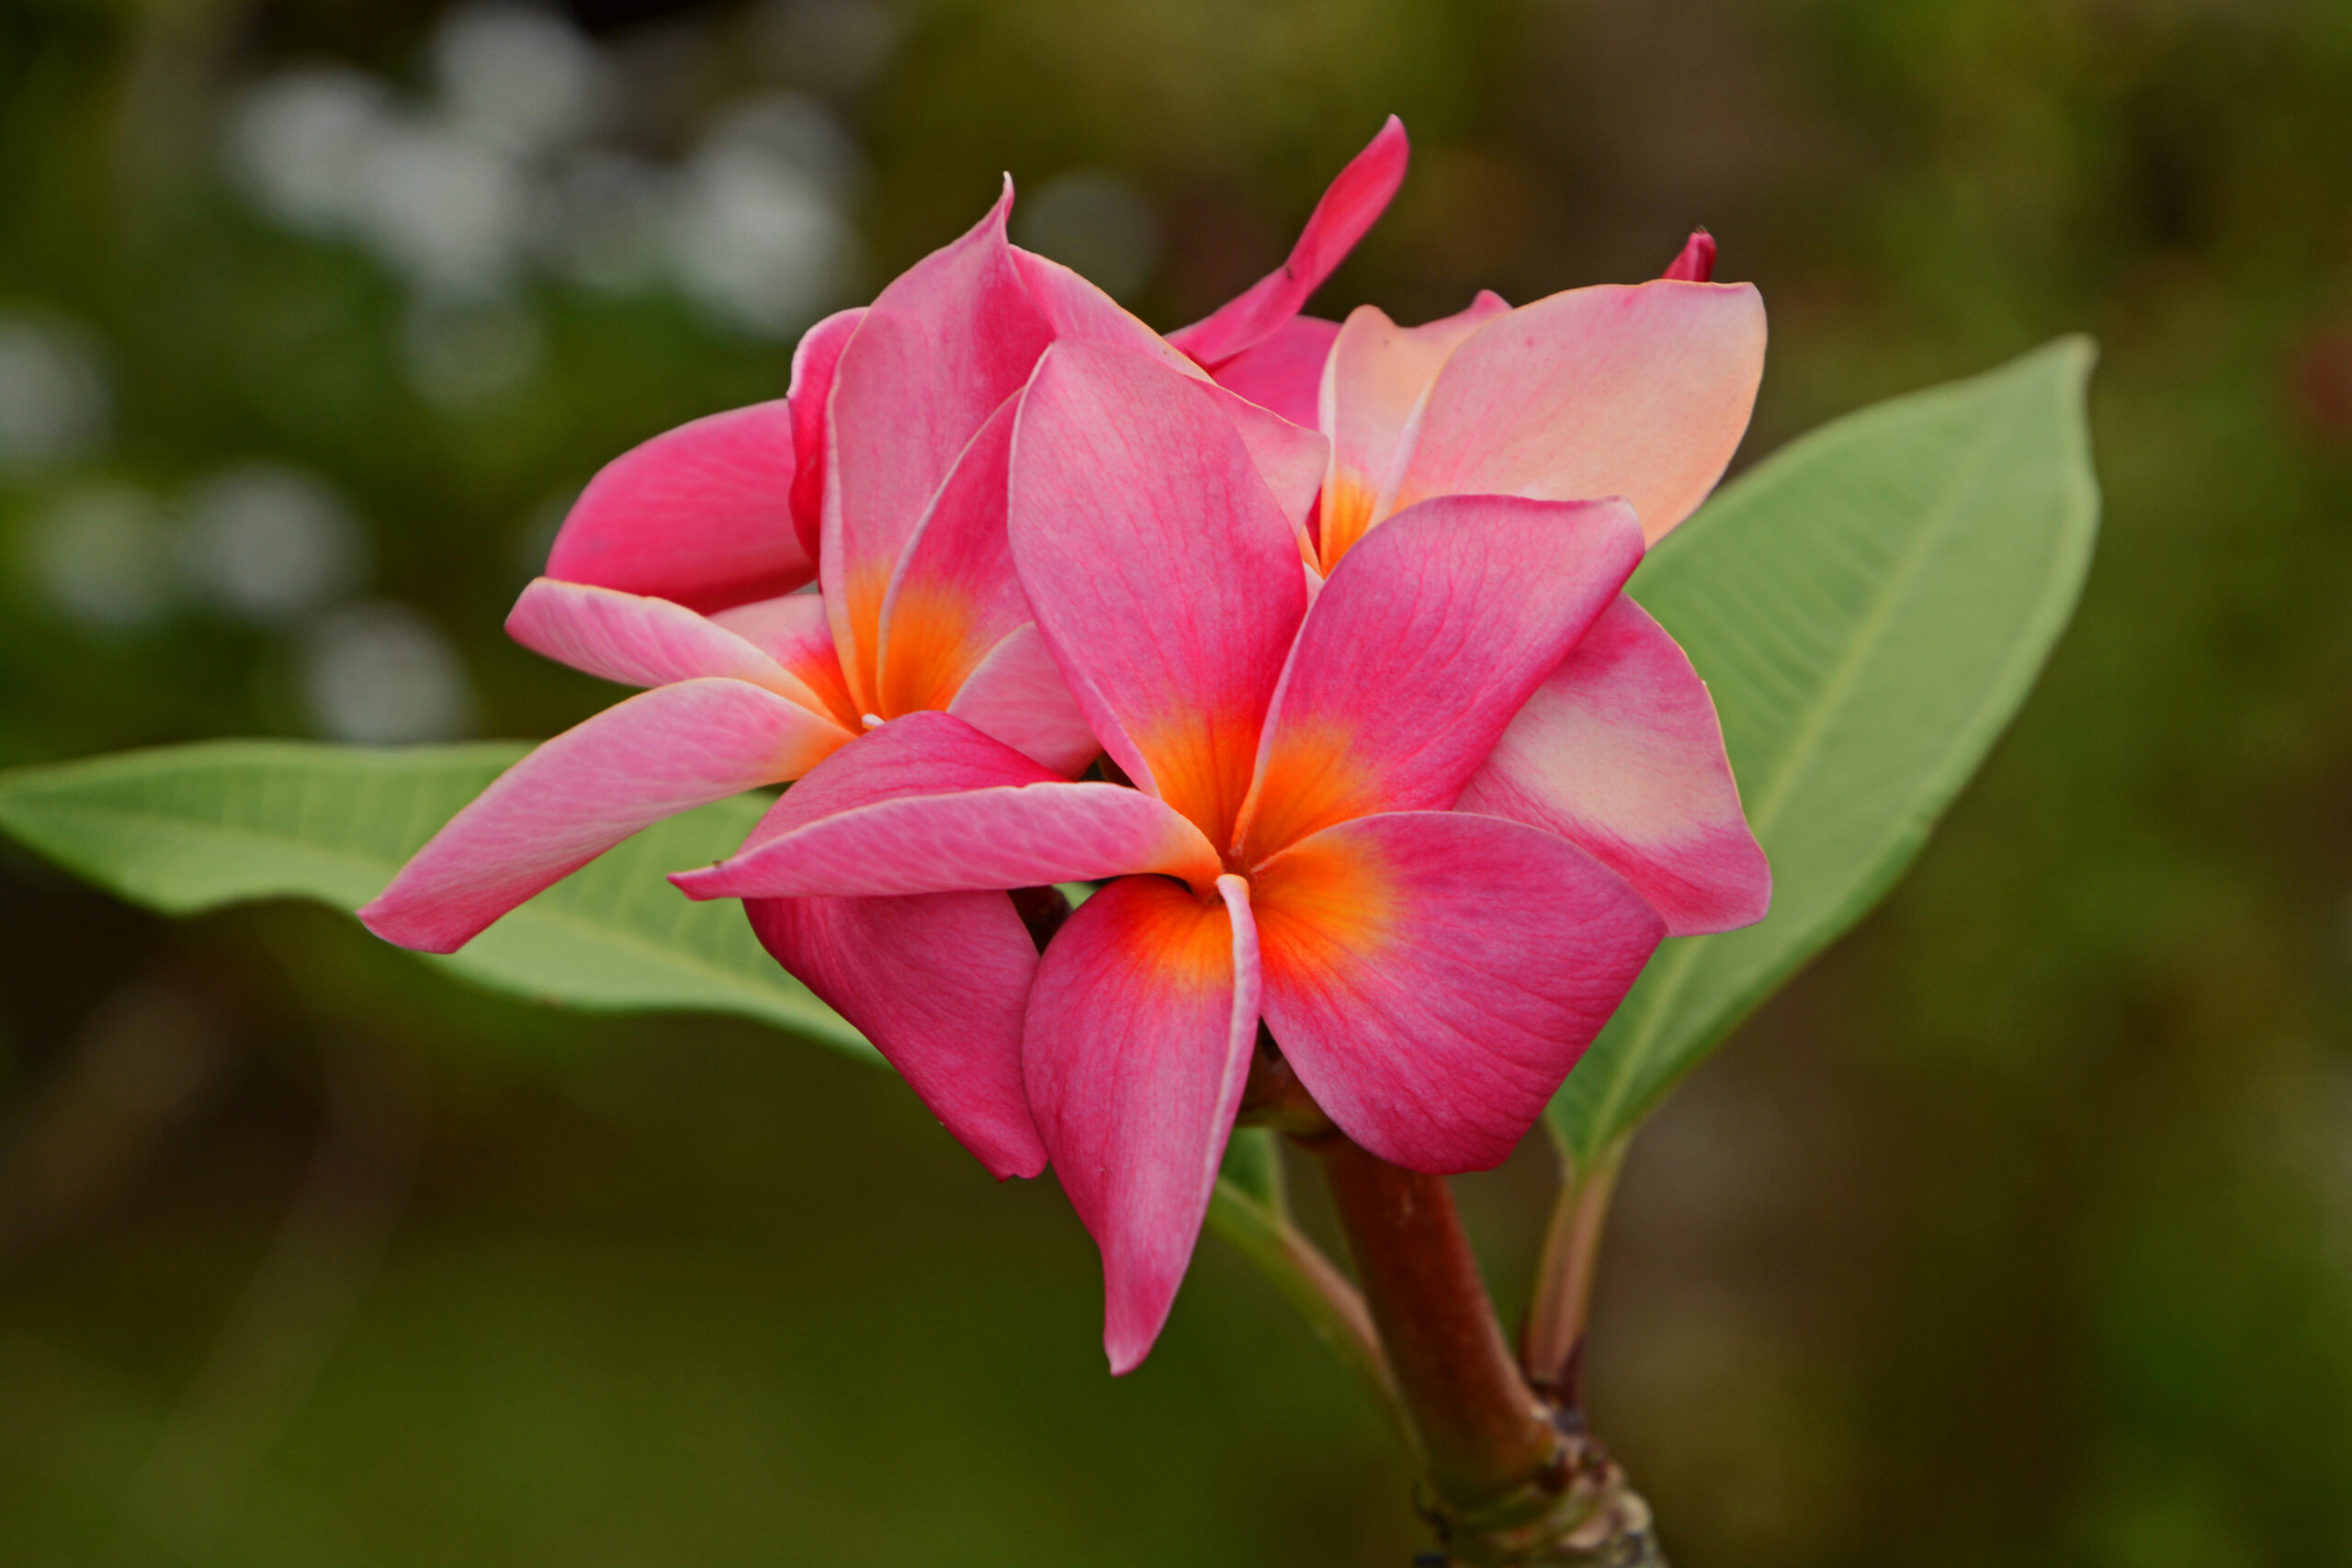
- 10.0 Tiare-Tahiti BY: Ron Ice
-
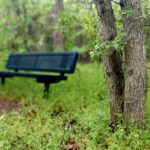
- 10.0 Corinth-Forest BY: Linda Wagner

-
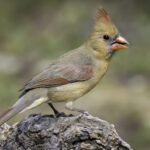
- 10.0 Female-Cardinal-Portrait BY: Ron Bautsch

JUNE JUDGES COMMENTS
| Title | Score | Comments |
| A Patriots Spirit Lives On | 7.0 | The maker has captured this scene using a shallow depth of field, as required for this challenge. As presented, however, the story is difficult to read: This tombstone represents a mother and son, who both passed within months of each other in February and May, 1904, respectively. The inscription on his side reads: ‘They steer’d their course to the same quiet shore, Not parted long and now to part no more’. She was barely 16 when she became pregnant. This is the story that needs to be told. If the maker is willing to return to this file, may I suggest that he start by reacquiring the file. If using Lightroom, be careful to avoid blowing out the highlights by starting with the Auto button. Then, move the Shadow slider to the right to +100, or to taste. Next, move the Highlight slider to the left, to -100. Pay attention to the histogram—if the highlight warning is still active, then move the Whites slider to the left until the warning clears. Export. Then, once in Photoshop, work with a program like DxO NIK Color Efex Pro’s Tonal Contrast filter at the default values to increase the midtone contrast. This will bring out the text on the tombstone. Then, address the unexplained shadow on the left side of the base. Finally, reduce, to taste, the several distractions on the edge of the image, particularly the black round object near the lower left corner, which is probably another tombstone. The other bright spots occur along the top and right edges, and could be reduced, to taste. This is an image with an interesting story to tell, and unless the maker’s family name is Affleck, this could be a contributing image to a memory book filled with images from local cemeteries. Good luck!! VF |
| Bee and Flowers | 9 | The maker was in the right spot at the right time to capture this bee approaching this blossom. The lens used provided the required shallow dof and produced great bokeh. Good eye, quick reflexes. If the maker is willing to revisit this image to experiment with tighter crops, there are several pictures within this picture that could eliminate the bright areas in the corners of the image, as presented. This is a matter of personal taste. Well done!! |
| Calaveras | 8 | The maker has found a display of skulls used to commemorate the Day of the Dead. The dof is shallow, as befitting this challenge. I’m wondering about the overall light level, and propose, if the maker is willing to revisit this file, to raise the overall light level to make it easier to read. This is a matter of personal taste, but I recommend applying a curves adjustment layer in Photoshop with the midpoint moved from 127 to 165, or to taste. Be sure to anchor the toe in the neighborhood of 35,35 to hold the deeper shadows. The maker has a good eye and was in the right place at a good time to capture this scene. Well done!! |
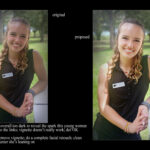
| Cart Girl | 7 | Yes, the focus goes soft for the background trees, but I’m not sure that Taylor, the subject of this capture, will like what is presented. I would like to encourage the maker to revisit this file to complete the retouch on her face and to remove what looks like a dark vignette from the image. Note in particular her hairline above her left ear—there is evidence that a mask has been applied to create the darkening of the background. Begin with brightening her face, raising the level of the skin between her eyebrows from the current reading in the red channel in the Info panel from about 131 to nearer 190. Hold the toe near 43 to no more than 50, and ensure that the highlight on her forehead doesn’t exceed 240, which is very bright for Caucasian skin. Next, pump some light into her eyes, to bring them to life: Apply a curves adjustment layer in Photoshop with the midpoint raised one division when the grid is set to 10×10. (The default grid is 4×4. Hold the Alt/Opt key while clicking in the Properties panel grid to change the pattern to 10×10). Invert the mask and use a white brush at 100% opacity to paint over her eyes. Soften the bags under her eyes by using the Patch Tool: Make a generous selection around the area under one eye and drag down onto the cheek and release. Immediately, invoke the Fade command (Cmd/Ctrl+Shift+F) and move the slider to 50. This will reduce but not eliminate the shadows under her eyes. Repeat for the other eye. If desired, use the Burn tool set to Darken mode to outline her pupils, eyelashes and the mascara or eye liner she’s applied. Be careful, as it’s easy to overdo. To add the final spark to her eyes, use the Dodge tool to dab a highlight in a corner of her pupils, representing a reflection off a bright surface out of the picture to camera left. Finally, if personal preference demands a dark vignette for this image, may I recommend that the opacity of the present vignette be reduced by 50 percent. Remember, this is a portrait, and you’re trying to please the client, Taylor, not yourself. Good luck!! |
| Corinth Forest | 10 | The maker has captured this scene with the challenge in mind, keeping the foreground tree trunks in sharp focus and allowing the bench and distant trees to go soft with the bokeh provided by the lens used. Good eye, right place, right time on an overcast day. Well done!! |
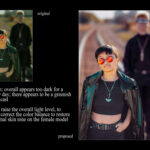
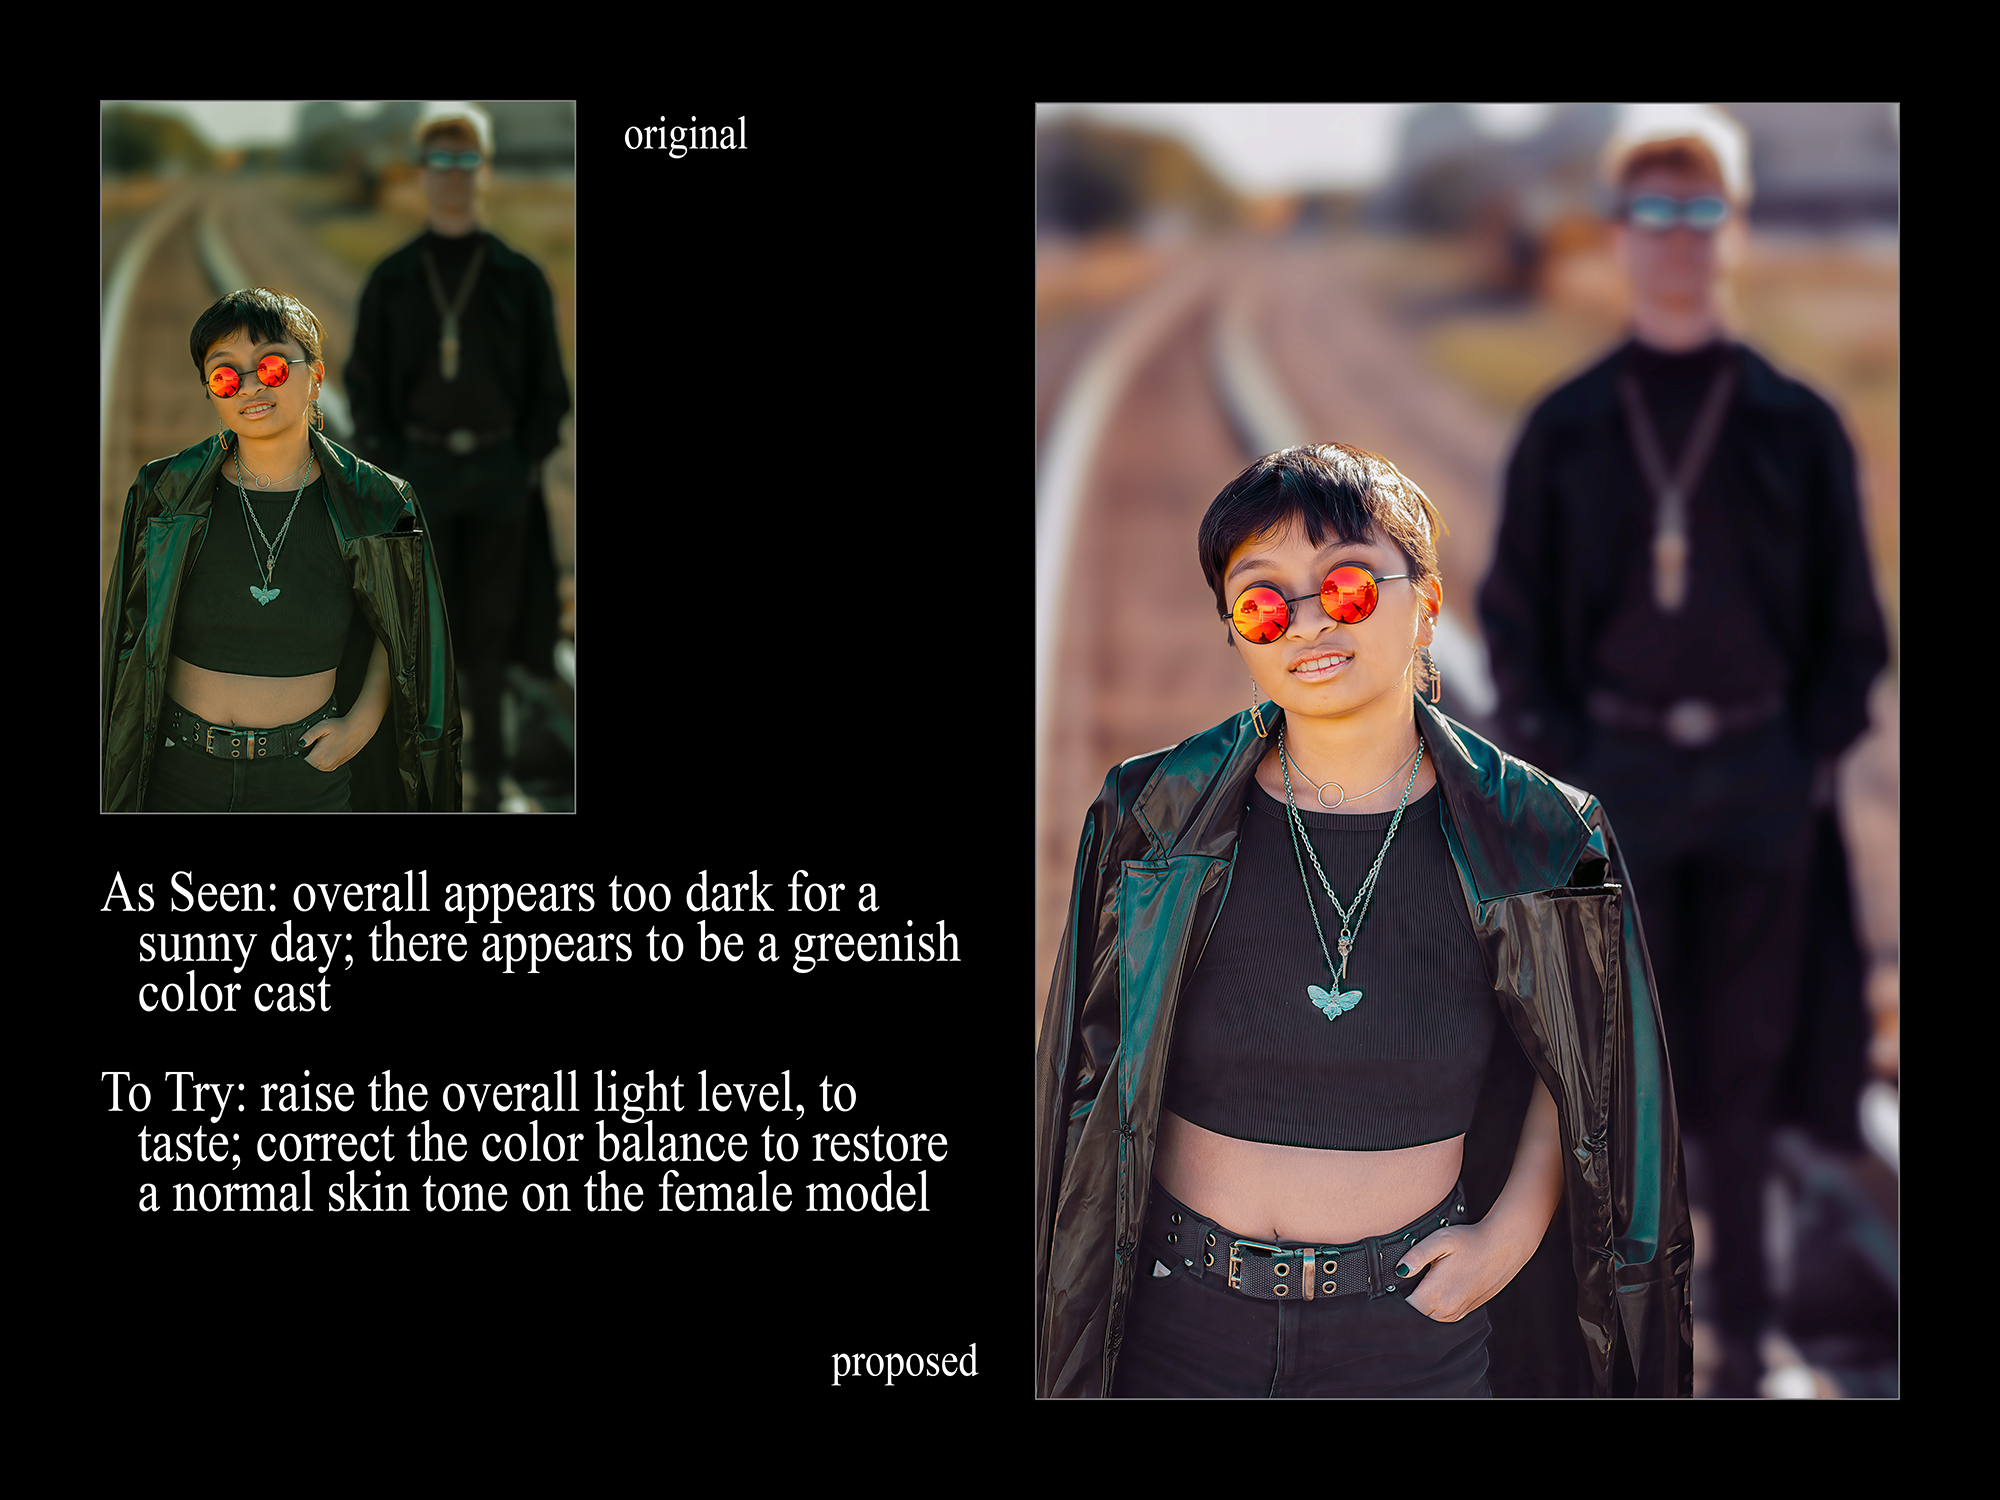
| Derailed | 7 | The maker, risking the life of all involved in this photo shoot by staging on railroad tracks, has nevertheless captured the spirit of this challenge. If the maker is willing to revisit this image I would encourage him to experiment with raising the overall light level to more closely match a sunny day, rather than the darker level presented. In addition, there appears to be a greenish color cast which could be corrected to restore the image to a state closer to what I believe the maker saw at the time of capture. I recommend applying a Curves adjustment layer in Photoshop with the midpoint raised from 130 to 180, or to taste. Then, experiment with a Color Balance adjustment layer—start with the Midtone M-G slider moved to -40 and the Y-B slider moved to +19, or to taste. The goal, as measured by the CMYK scale in the Info panel in Photoshop, should be to attain a relatively low Cyan percentage, with the M and Y scales within +/- 10 points of each other. The suggested values should bring the M-Y values almost equal, when measured on the skin between her eyebrows or cheek. These suggested values should produce a believable skin tone on the female model and render the overall scene as a sunny day. Good luck!! |
| Female Cardinal Portrait | 10 | What’s not to like? Sharp focus on the Cardinal; good highlight in the eye; beak parted as if calling for its mate; soft focus in the background. This meets the challenge. Good eye, right place, right time. Well done!! |
| God of War Hawaii | 7 | Note how the camera is slightly above the middle of this figure, rendering the hair and face down to the chin in sharp focus, while allowing the neck and shoulders to begin to go soft. The background, of course is very soft, just distinct enough to suggest the museum environment that houses this item. If the maker intends to make a giclee print of this file, may I suggest that he reset his black and white points in order to avoid blocking up the deepest blacks and revealing paper base white in the numerous specular highlights. There are a couple of sensor dust spots that should be removed in the bottom right corner, and, if desired, the verticals could be straightened by applying a transform (Cmd/Ctrl+T), then clicking in the image to bring up a menu where you will choose Skew. Pull the bottom left corner to the left until the vertical column behind the mask is vertical. Accept and print for your memory book of this visit to Hawaii. Good luck!! |
| Japanese Festival Fort Worth | 5 | If the maker had chosen to present this capture as a fairly tight head shot, we could believe the dof was a natural result of the lens used and the distance between the subject and the background shrubbery. However, including the chair the subject is sitting on shows that the maker probably took an ordinary image, selected the subject and placed it on its own layer, then blurred the underlying background layer, to taste. This is particularly evident by looking at the chair seat which makes an unbelievable transition from sharp cushion to totally blurred back. The maker understands the concept of selective focus, but the execution presented has some serious flaws. I’d also like to know why the image was cropped to eliminate the subject’s left leg and a portion of the fan. The maker has a good eye but overdid the post production work to achieve the challenge of this assignment. There is a story to be captured at this festival. This might have been achieved by cropping tightly for a head shot, but as presented, the story is lost . Sorry. |
| Magic Happy Place | 0 | This image will receive a lower score than it would achieve in an open contest, but with the challenge of limiting the dof, the use of a wide angle lens is not working to produce the desired result. I’m sure the dogs’ mistress will love this capture which is a very good portrait of these two lovable pets!! The background, however, is still quite recognizable and doesn’t meet the requirements of this challenge. |
| Photobombed Cardinal | 7 | The maker had good reflexes to capture this combination of the cardinal and the hare. If the maker is willing to revisit this image may I suggest that he check for possible sensor dust spots on his original, and if present, to eliminate them. The use of a dark vignette is a matter of personal taste. I’m not sure it’s necessary. I would encourage the maker to experiment on a duplicate of the working layered file with reducing the present opacity of the vignette layer to something between 20 and 35 percent—I believe he will be happier with the result. Good luck!! |
| Pretty in Pink | 8 | The maker had a choice to make: Focus on the outer edges of the petals, or capture the pistils and stamens sharply. He chose the former, allowing the central stem containing the bloom’s sexual organs to begin to go soft. The maker has made the choice to apply a dark vignette which I believe is darker than it needs to be. If the maker is willing to revisit this image, may I suggest that he reduce the opacity of the vignette layer by at least half, or even to about 30 percent of its present value. The bloom is going to stand out, vignette or not, and having a lighter background will inform the viewer of the type of garden in which this bloom has been found. Good luck!! |
| Tiare Tahiti | 10 | This is a beautiful image of a plumeria bloom, and the shallow dof makes this image sing. The maker has a good eye, was in the right spot at the right time for this capture. I particularly like that a dark vignette was not applied, or if it was, it’s felt rather than seen. Well done!! |
| What Windshield? | 9 | The maker had to make some split second choices during this active dirt track racing situation. There appear to be two vehicles in the image, with the foreground image relatively sharp. The second vehicle, however, is already beginning to blur a bit, and the track in the background is definitely soft. The maker understands the concept of limited dof, which is contrary to the notice on the vertical fin of this car which reads: ‘I have no idea what I’m doing’. I’m surprised that the driver doesn’t have more mud on her face, since the front-facing surfaces of the vehicle are spattered with mud. Good eye, right place, right time. Well done!! |